Mi Casa Es Sukhasana- How to Build a Home Practice.
October 10, 2013
A student recently told me this great ‘yoga story.’ She was in Scott Hobbs class, and she overheard someone mention that it had been awhile since he had practiced yoga. The brilliant Scott Hobbs said “Have you been somewhere without a floor?”
Yes, you can practice yoga on your own; you don’t always need a teacher to tell you what to do. In the early days of yoga (thousands of years ago), we believe that yoga was done in secret- or at least, practiced in the privacy of one’s home. The word ‘asana’ can be translated to mean ‘posture’, but also ‘to sit.’ In the early days, i imagine a yogi’s home practice was very simple. It likely consisted of basic stretches and strengthening exercises. What i imagine they were doing was natural movements and postures, like stretching your arms overhead when you first wake up in the morning, or rolling your shoulders open and back a few times to get the chest to open. Traditional postures were passed down from teacher to student, or through familial lines- but in the end, i think it was up to the yogi to do their own home-work, in preparation for the ‘real’ practice, which was to allow a yogi to sit and meditate.
In my opinion, having a home practice as a yoga teacher is sort of mandatory- at least it is for me. It is a place to experience what yoga means. It is a time to explore the ideas, methods and techniques i have learned over the years- to pull together the experiences i’ve gained from my teachers, to feel it deeply in my body and make it my own. It is a time to experiment. To allow movement sequences to arise creatively and spontaneously, out of intuition and deep listening. To pause and be still. It is empowering to participate in my own process of Self-inquiry, healing and awareness. i practice “alignment” as a moment-by-moment experience of understanding exactly where i am in time and space… a deliberate and conscious participation in aligning myself- body-mind-and-soul- so that i feel connected-united-integrated-whole-and fully embodied. Practicing at home means giving myself time to play and explore, and i admit, most of the time i practice in my pajamas! It is a great joy to practice yoga in my home sanctuary, treat my body as a temple, and i value the time to simply BE with myself.
i LOVE taking class from my teachers. i enjoy practicing among dedicated yogis, learning something new, being challenged in a way i might not do on my own, and guided from the trusted experience of my teachers. But for the most part, my home practice allows me to experience yoga at my own pace, and the work i do at home informs the way i share yoga with my students. As i get older, as my practice matures, i am less interested in fancy choreography, or accomplishing advanced postures. Really, i just want some time to deepen my breath, steady my body, still my mind, and take a break from technology and the stress of the modern world. i enjoy being able to simply sit with myself- to be at home with myself- and to allow time to expand for me in the stillness of my practice.
This writing is intended to help inspire you to begin your own home practice. Even if you are not a yoga teacher, having a home practice should be fun, joyful and a healthy way to experience the truth of YOU! It is a valuable time to listen to your inner-wisdom, the innate-knowingness of how to do self-care. This writing is a guide for yoga-nerds like myself, and especially for yogis who still haven’t experienced the joy of practicing at home. Here i will give suggestions and offer ideas, which are inspired from my own home practice and a little of what i’ve learned from my teachers Erich Schiffman and Donna Farhi. i hope when you are done reading this, you are inspired to turn the computer off and get on your yoga mat!!!
Elements of building a home practice:
-Create a ’sacred space:’Set your practice space in a room that is clean, free from clutter, noise and distraction. Close the door, turn off technology, request family give you privacy, dim the light, set out crystals, feathers, or other special treasures, light a candle, burn incense… whatever helps to create a space that is sacred. This is an important step, so that your practice is not commonplace; not a chore like doing the dishes or vacuuming the carpet. Create an environment that is separate from other home-activities, and honor this precious time with yourself.
-Have your props ready:If you have to stop in the middle of your practice, or go to another room to get a prop, it may break your attention, and stop the creative flow. Have everything handy- and this includes music- even if in the end, you decide to practice in silence. i also usually keep a journal nearby, in case i get a good idea, or i come up with a great sequence, and i want to remember it later. i can easily jot down my idea, and get right back into my practice.
-Set a time limit: This has been really helpful for me, and i encourage you to give yourself some structure about how long you are committing to practice. It could be ten minutes, it could be one or two hours- but create a time limit for yourself, and stick to it. This helps challenge you to work for a given amount of time- and also sets a boundary for when you would like to be done. Both usually help me to have peace of mind as i practice.
-Set a goal or intention:What do you want to work on today? Check in with your body, your breath and your mind, and be honest to how you are showing up on your mat. Check in with aches and pains, and keep watching these places throughout your practice- to be sensitive, supportive and mindful. Here are some examples of ideas to get started with, but do not feel limited by this list. The possibilities for creative individualized exploration are endless:
—Work on postures you do not like, or that you avoid: this strengthens parts of you that may be weak or imbalanced. It helps stir up energy if you are feeling stuck, challenges you beyond your comfort level and creates balance by giving you what you may lack or be averted to.
—Work on postures that you love: do those beloved shapes, movements and forms that make your heart sing. Do poses that give familiarity, comfort or full-bodied satisfaction. It will be a safe playground for you to explore the fine details and will make your heart happy.
—Focus on breath:Discover how profound it is to simply ‘inhale-pause-exhale-pause.’ Linger in the connection of breath and movement- and refined, conscious breath within the stillness of the physical form.
—Focus on and explore a ‘type’ of posture: backbends, forward bends, twists, hip and shoulder openers, inversions, restoratives, vinyasa/ movement connecting with breath… What is involved in this particular type of posture? How do these postures inform the entire body structure- to be connected, balanced, and whole? How can you explore these postures- from standing, to sitting, to laying on your belly, to laying on your back? Make sure to do counter poses, or somehow create balance in the body- front to back and side to side.
—Focus on a theme: This may give you a starting point, if you don’t know what to work on. The ideas for a ‘theme’ are endless, here are a few to get you started: balance, strength, steadiness, to be kind toyourself, to breathe well and with clear attention, to give you energy for the day, to work therapeutically with an injury, to dedicate your efforts to someone you love or who needs it, etc. Give yourself a main idea to focus on, and explore where that theme will take you.
-Honor the principles of Satya and Ahimsa- be truthful and non-violent: Practice postures and movement sequences that are truthful to your level and experience. The great thing about practicing on your own is being able to truly listen to what your body is asking for- not to strain beyond what is appropriate for you- and be honest with yourself in the moment. If you are truly listening to your body and your breath, you are consciously aware of your entire body, you should not risk injury. If there are questions about whether you are doing postures safely, if you are feeling strain, depleted energy or a specific injury is arising, seek an experienced teacher who can lead you in bringing balance to your body. With your teacher, you can work on specific postures and alignment principles that you can bring back with you to your home practice.
-Sequencing your home practice/ basic arc of a class:The following is a basic outline for sequencing a good home practice. Feel free to follow this outline, but don’t feel limited by it. There is so much that can be said in terms of sequencing, there are many ways to play inside (and out) of this basic class structure. But here’s a simple arc of a class (if you need one) to get you started:
—Opening– This gives you a way to slow down and to make the transition into your practice. Use the ‘opening’ as a way to turn your focus from the distractions of the world and your mind, by connecting with sensation, awareness, and breath. Sitting in meditation is a great way to begin. Most of the time, i begin lying on my back- i connect with the rhythm of my breath, until i feel guided as to where to go next.
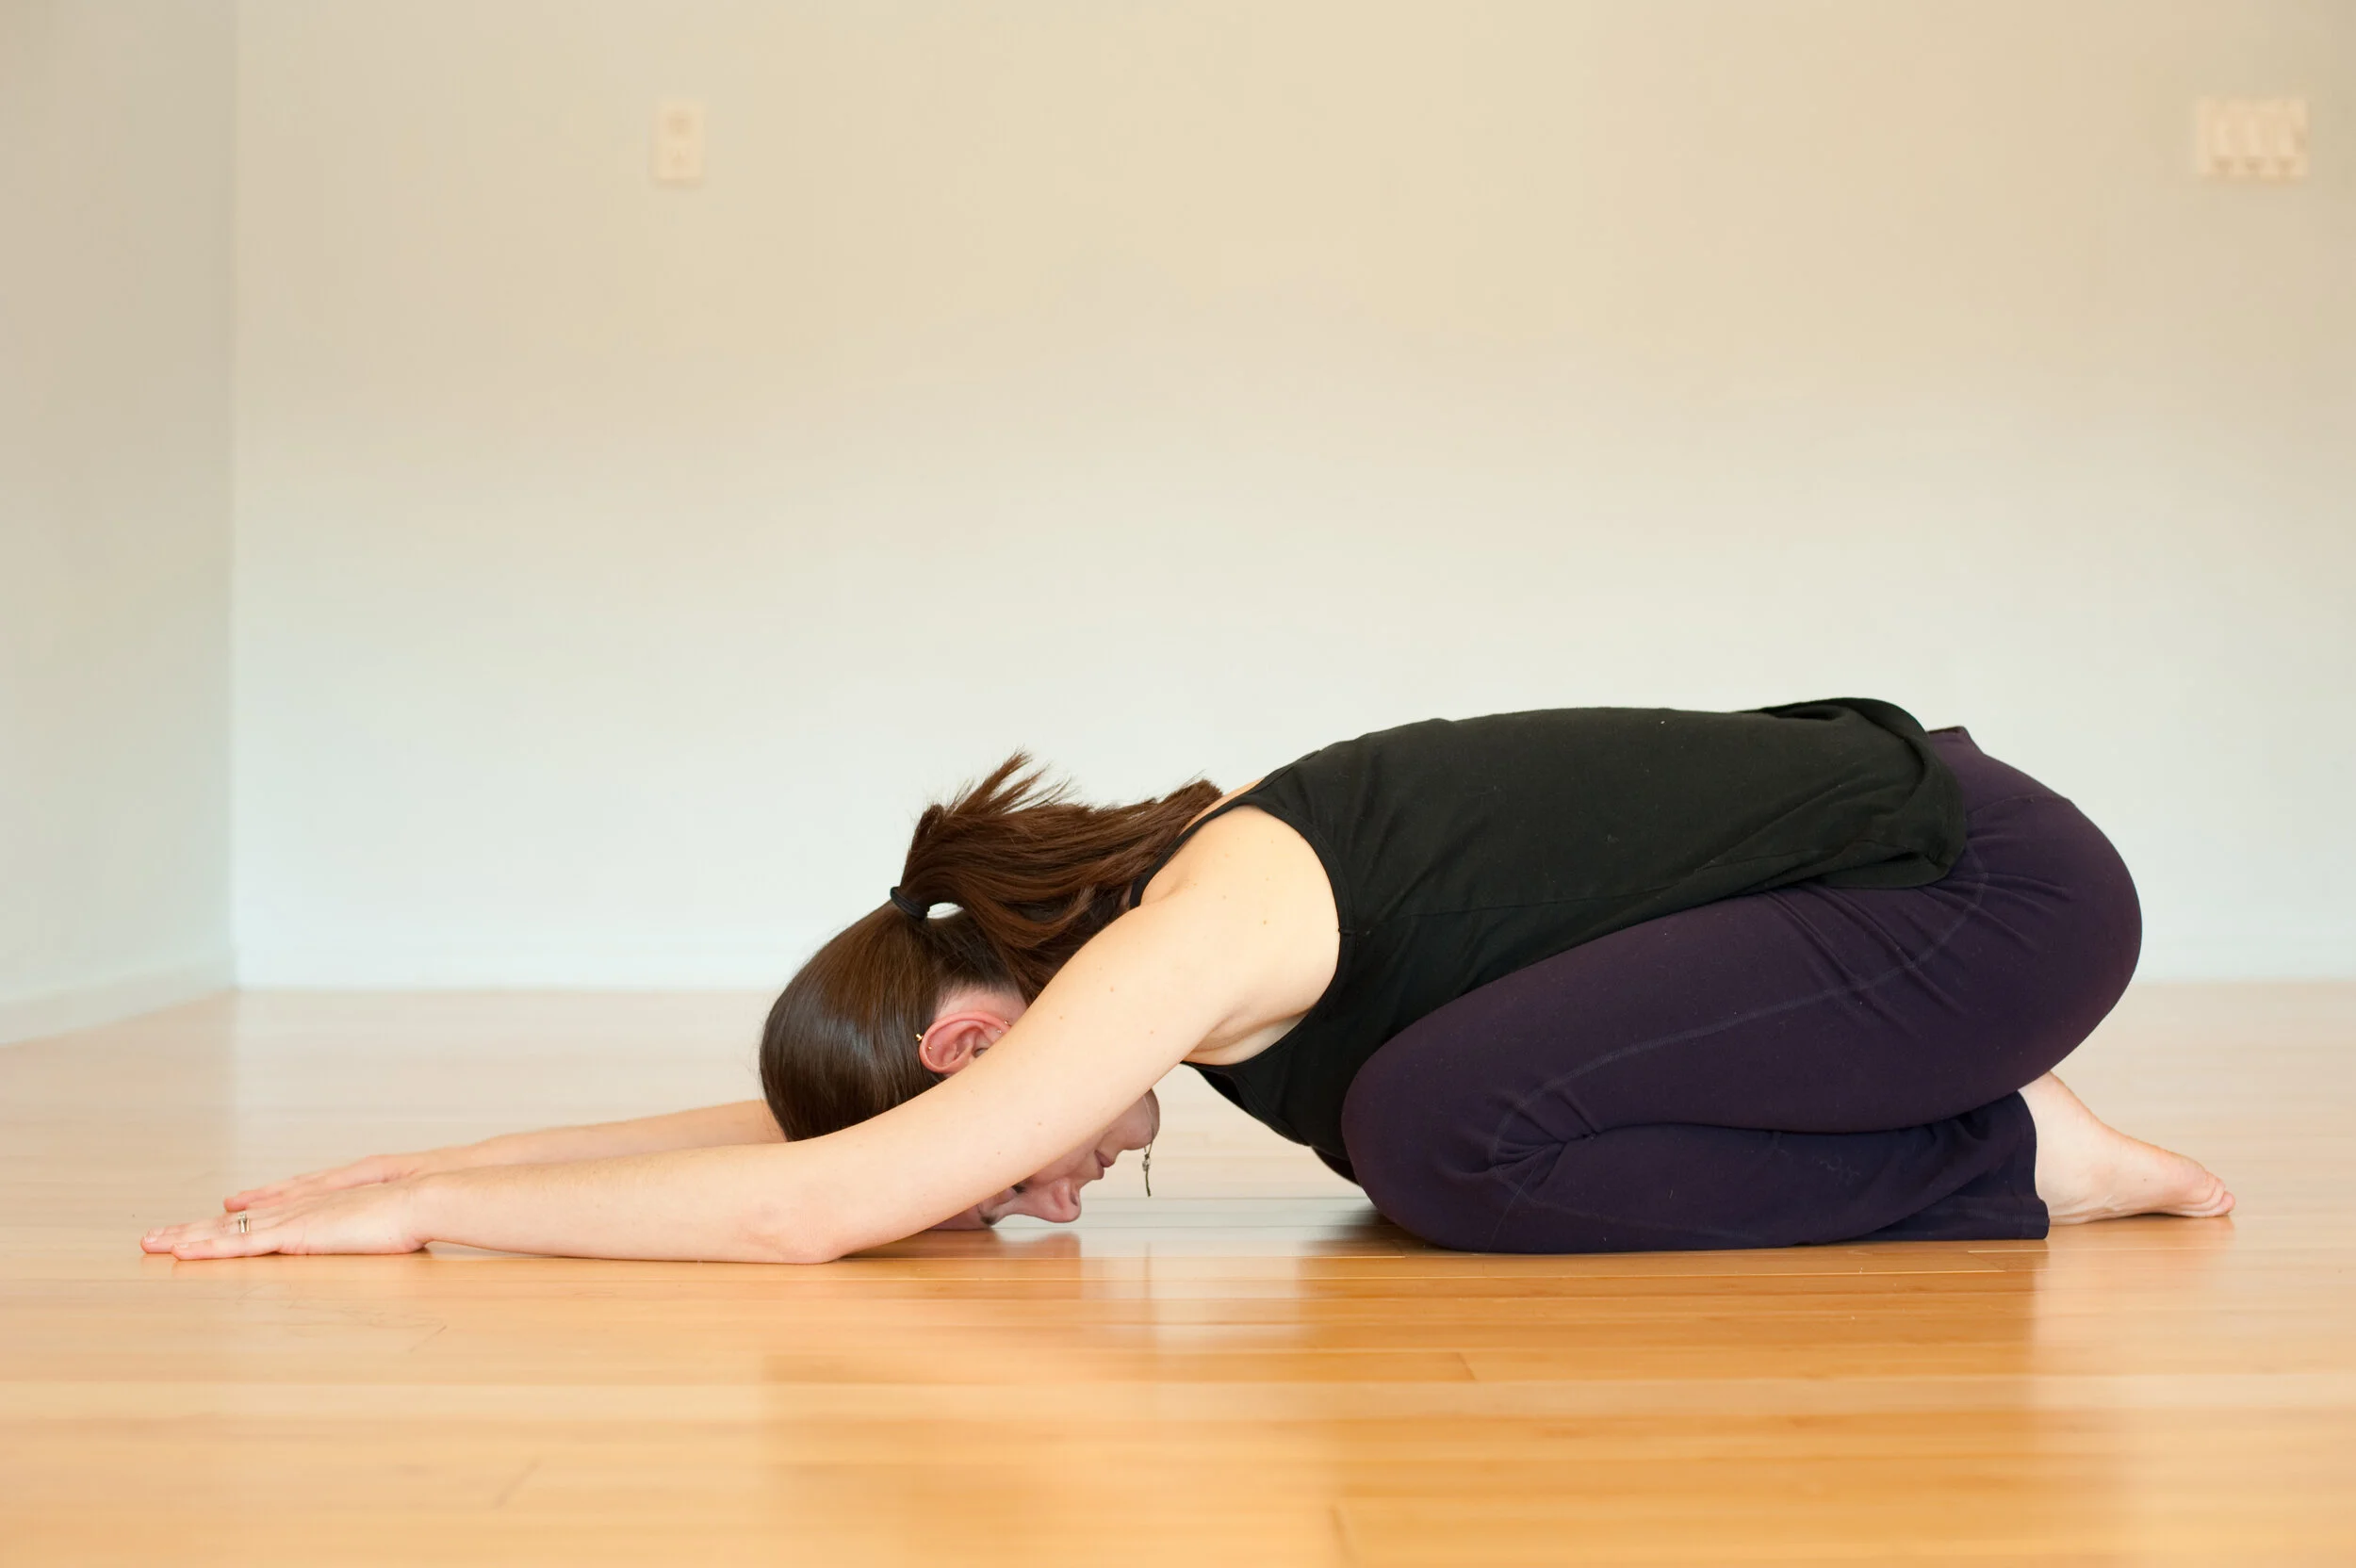
—Sun Salutations/ Warm up– Connect with your body through gentle stretches, cat’s breath, child’s pose, or a downward facing dog. You can do traditional Surya Namaskara, or you make up your own versions. Connect physical movement with breath, in a disciplined, conscious way. Warm up the big muscle groups so they are ready for more specific actions and advanced postures.
—Standing Poses -There is no need to do every single standing pose. Pick a few of your favorites, that make sense with where your practice is going- to ground into the feet, strengthen and open the legs, hips, spine and back. Treat the standing postures as part of your ‘warm up.’ Listen to your entire body as a whole and practice good alignment that you may have learned from your teachers.
—Peak– Your ‘peak pose’ could be anything: a backbend, balance posture, inversion, hip opening.. This could be the “pinnacle” of your practice, where your work so far has been leading you. It could be the place to practice the strongest, most advanced poses in your sequence, or simply the place where you feel the most “awake.”
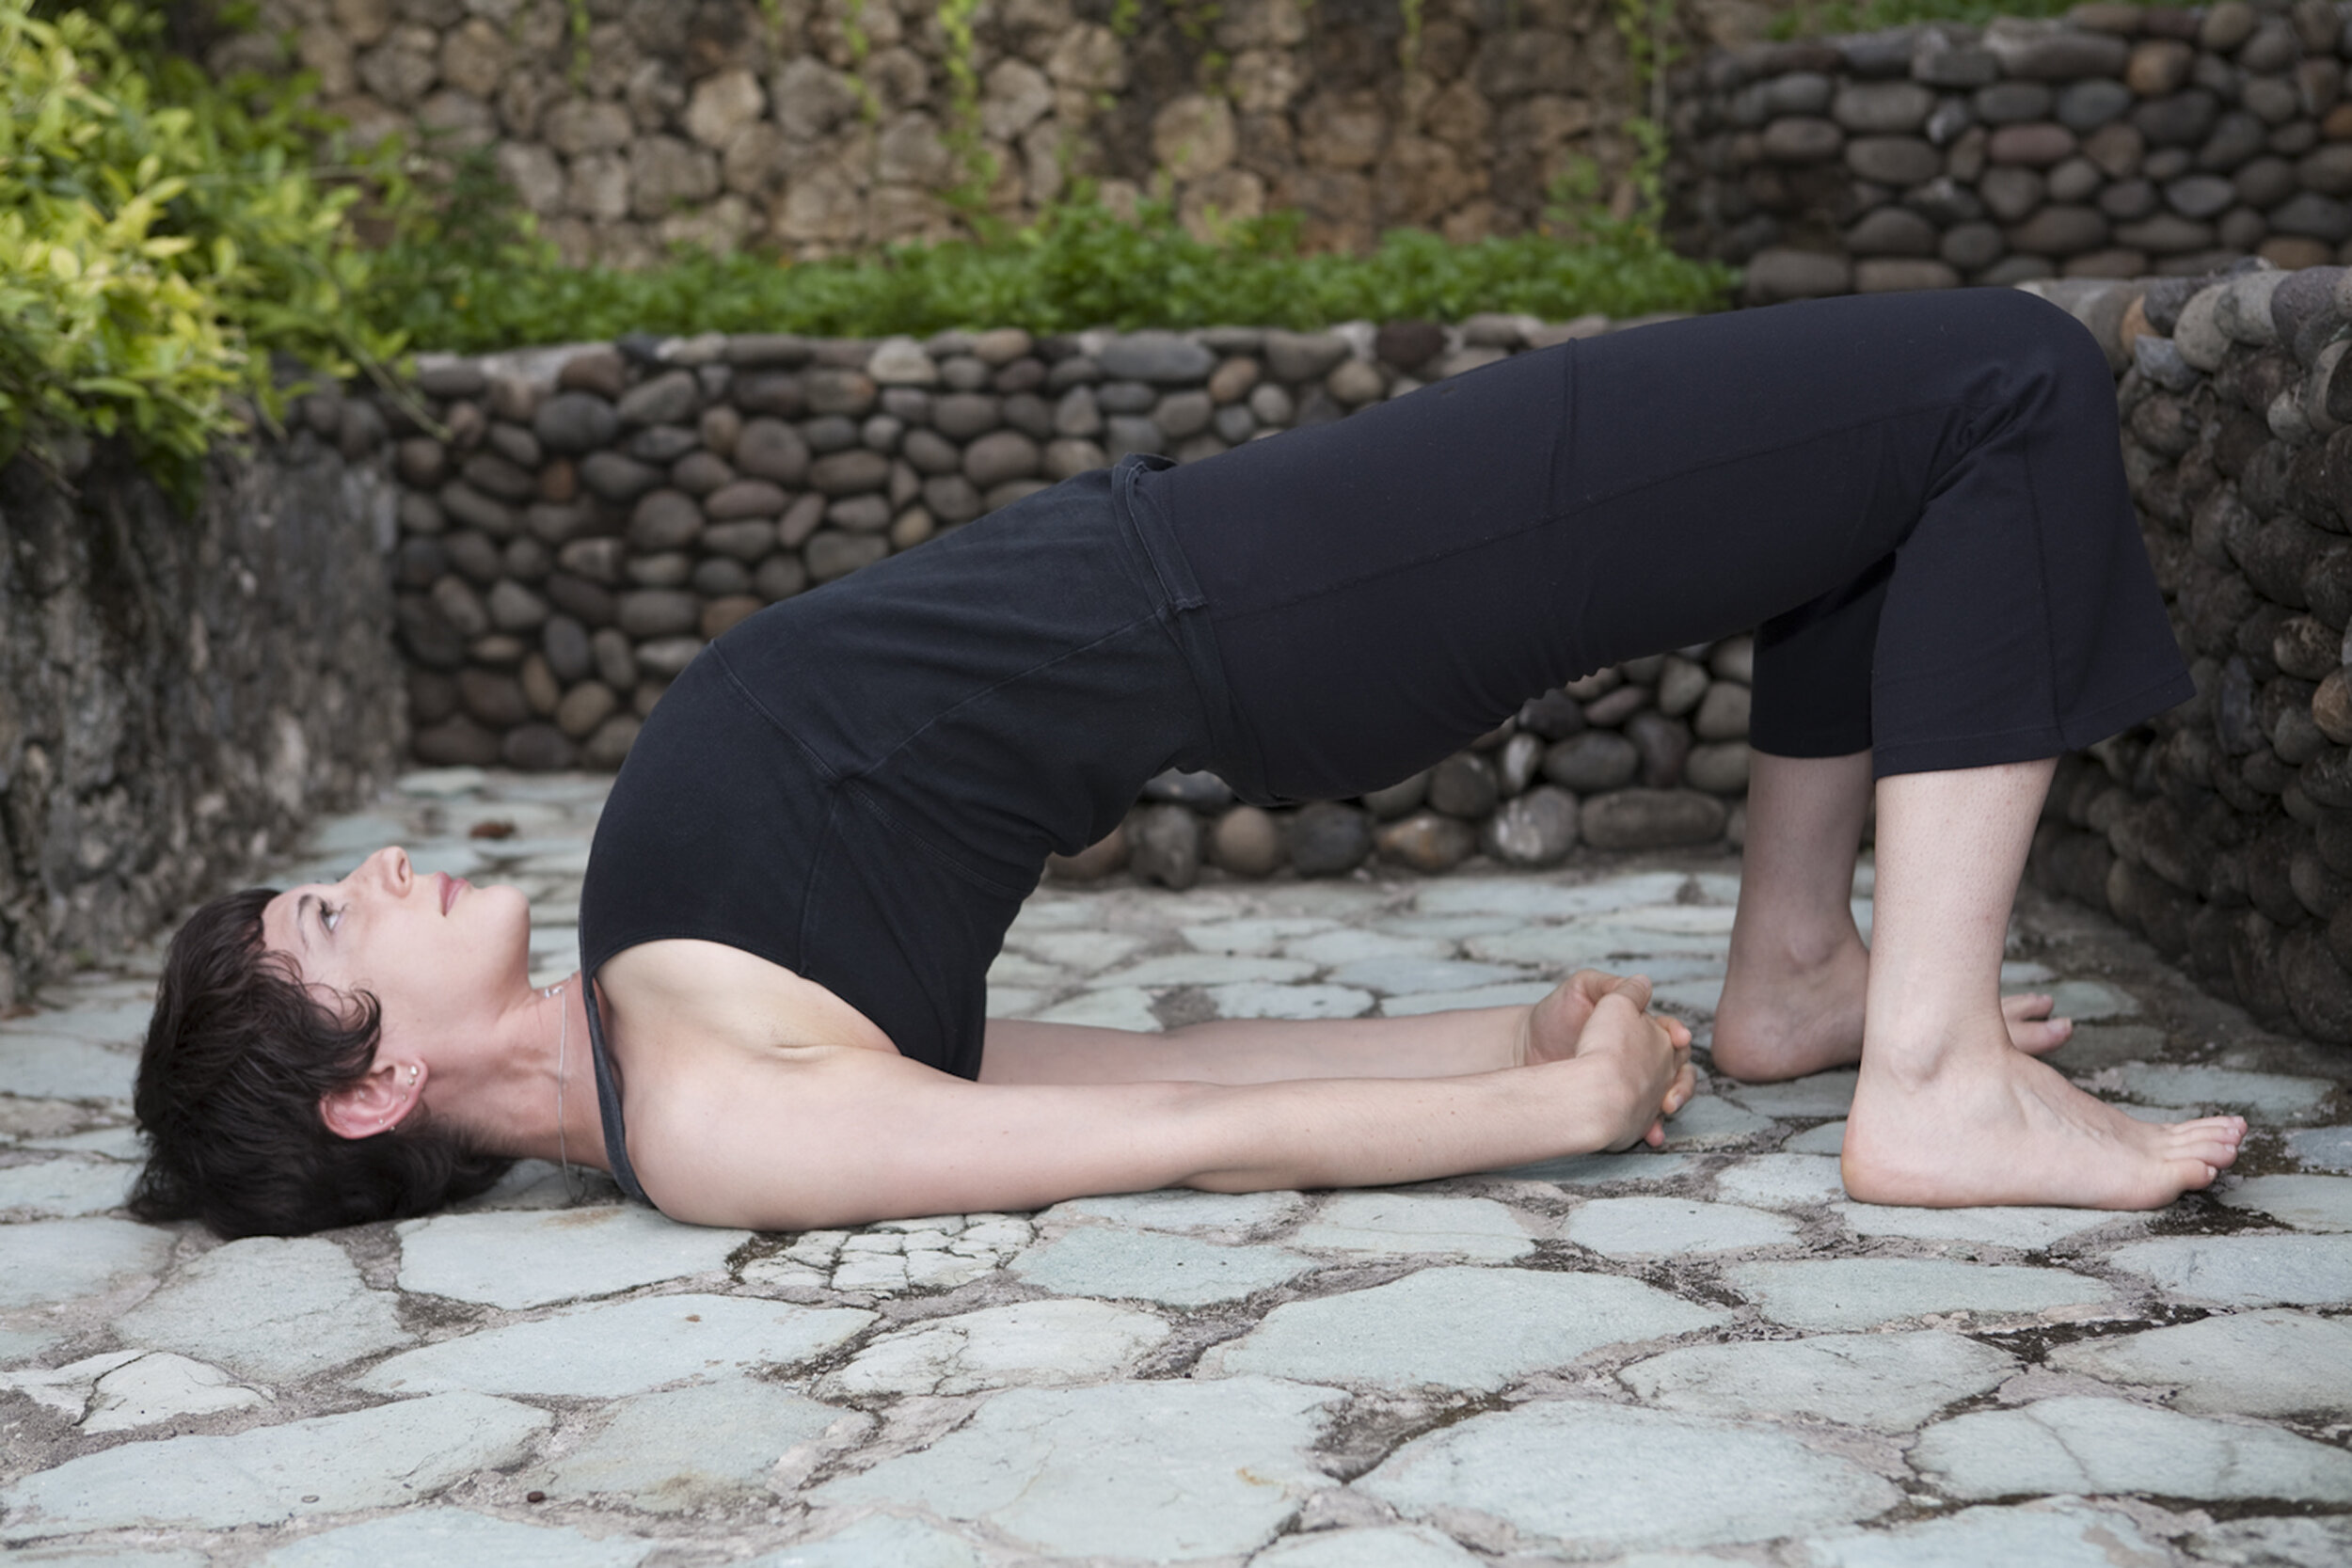
—Cool Down/ Counter Poses - Wherever your practice has led you, make sure to do a cool down with ‘counter poses’ to create a balanced practice. For example, if you focused on backbends, give yourself some twists and forward bends. If your practice was strong and dynamic, use the cool down to create stillness, stretch and subtlety. Seated twists and forward bends go nicely here, or reclining postures such as bridge pose, happy baby, thread the needle or reclined twist.
—Savasana– Rest. Pause. Integrate. Be in a comfortable resting position where you can drop the weight of the body, and receive the benefits of your work. This is an important pose to do, no matter where your practice took you. Give yourself at least 5 minutes to rest and integrate. When possible, i try to give myself 7 – 10 minutes for savasana.
—Meditation- Be still. Take a moment to feel the effect of your practice. Pause in the transition from the artistry of your practice, to stepping back into the ‘real world.’ Move slowly and consciously back into your day.
My best advice for building a home practice: give yourself some structure, give yourself some freedom.
Having a home practice needs a level of commitment and dedication. As you set down to practice, most likely in the first five minutes, a thought will pop into your mind: “Did i leave the stove on?” … “Should i really walk the dog now?” … “Oh, i just remembered about that bill i need to pay.. or that email i need to send.. or that phone call i need to make..” These thoughts will inevitably arise- they always do for me! These thoughts will pull you away from your practice, and will keep you distracted. Make the commitment and Do Your Practice.(This is where setting a time limit may be helpful). The things on your ‘to do’ list can wait. And once you’ve aligned your physical body, grounded yourself in breath and centered your mind, you will feel ready to take on the day.
door and shutting off your phone, have a time frame to work, and perhaps an intention or dedication to a certain goal- but then allow yourself freedom to explore. Listen to youself in the moment- LISTEN deeply. Participate and be engaged with what is happening in every single moment, and respond to what is happening in the most appropriate way possible. Just BE in the “live event,” as Erich Schiffman calls it. Be in the living event of your life, and do your practice as if you are a moving, breathing work of art.
Mi Casa Es Sukhasana.
The root ‘Sukha’ means happiness, ease or space. ‘Asana’ means to sit, to create poise. Asana is posture created from the dual qualities of steadiness and ease. And to put the two root words together, ‘Sukhasana’ is roughly translated as the ‘easy crossed legged pose,’ the place where we sit to find steadiness, space and comfort. When we are truly at home with ourself, when we feel comfortable in our own skin- this to me is a precious gift. To stop the mind from obsessing about the past, or projecting into the future- and to truly engage with the present moment, no matter where you are- that to me is yoga. You take your practice with you, wherever you go, as the delightful Scott Hobbs reminds us: “wherever there is a floor.” i’m not sure where this phrase comes from, but it’s a good one: “The measure of a good yoga practice is not to be able to put your leg behind your head- a successful yoga practice is when you are happy in your life.” Your yoga practice can be a self-guided return to awakened presence and the truth of authentic being. As Donna Farhi writes “May your practice bring you home.”


